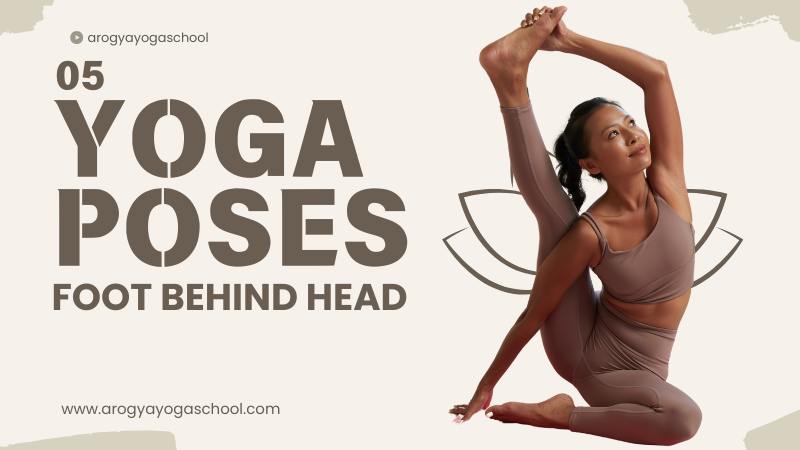
Foot behind head Yoga Pose
Yoga poses that involve putting your foot behind your head require a lot of flexibility, strength, and patience. These challenging positions mainly work on the hips, hamstrings, lower back, and shoulders, while also helping you become more aware of your body and improving your balance. Learning these poses takes time, but with regular practice, they can boost your mobility, relieve tension, and sharpen your focus. Here are some important yoga poses that include placing the foot behind the head.
1. Eka Pada Sirsasana (One-Leg-Behind-the-Head Pose)
This is a popular yoga pose where one foot goes behind the head. It’s often practiced in Ashtanga and advanced Hatha yoga.
Steps:
– Sit on the floor with your legs stretched out.
– Bend your right knee and pull your foot towards your chest.
– Hold onto your foot with both hands and guide it behind your head.
– Rest your foot on the back of your neck and keep your spine straight.
– Breathe for a few moments before switching to the other side.
Benefits:
– Increases flexibility in the hips.
– Strengthens the spine and core muscles.
– Enhances focus and balance.
– Improves blood flow in the lower body.
2. Yoga Nidrasana (Sleeping Yogi Pose)
This relaxing pose opens up the hips and needs flexibility in the hamstrings, hips, and lower back.
Steps:
– Lie on your back and bend both knees towards your chest.
– Bring one foot behind your head, then follow with the other foot.
– Cross your ankles and let your feet rest comfortably.
– Keep your arms by your sides or hold onto your feet.
– Take deep breaths and relax in this position.
Benefits:
– Increases flexibility in the spine.
– Deeply opens the hips.
– Helps with relaxation and reducing stress.
– Aids digestion and improves circulation.
3. Dwi Pada Sirsasana (Both-Legs-Behind-the-Head Pose)
This is a more advanced version of Eka Pada Sirsasana, where both feet are placed behind the head.
Steps:
– Sit on the floor with your legs extended.
– Bring one foot behind your head, then carefully place the other foot behind as well.
– Sit up straight and find your balance.
– You can put your hands together in a prayer position or rest them on the ground for support.
– Hold this position for a few breaths before gently coming out of it.
Benefits:
– Increases flexibility in the hips and hamstrings.
– Strengthens the back and core muscles.
– Improves body control and coordination.
– Enhances mental focus.
4. Kapotasana Variations (Pigeon Pose with Foot Behind Head)
You can modify Pigeon Pose to bring your foot behind your head, providing a deep stretch for your hips and back.
Steps:
1. Begin in Pigeon Pose with one leg bent in front and the other leg stretched out behind.
2. Bend the back leg and lift the foot toward your head.
3. Use your hands to help guide your foot behind your head.
4. Keep your chest up and find your balance.
5. Breathe deeply and hold this position for a few breaths before switching sides.
Benefits:
– Opens up the hip flexors and groin area.
– Increases flexibility in the spine.
– Strengthens the back and shoulders.
– Improves balance and stability.
5. Bhairavasana (Destroyer of the Universe Pose)
This challenging pose combines an arm balance with a leg-behind-the-head position.
Steps:
1. Start in Eka Pada Sirsasana (One-Leg-Behind-the-Head Pose).
2. Place your hands on the floor for support.
3. Use your arms to lift your body off the ground.
4. Extend the other leg forward while balancing on your hands.
5. Hold this position while breathing steadily.
Benefits:
– Strengthens the core and upper body.
– Enhances flexibility in the hips and spine.
– Improves coordination and control.
– Builds endurance and concentration.
Tips for Practicing Foot-Behind-the-Head Poses
– Warm Up Well: Before trying these poses, do hip-opening stretches like Butterfly Pose, Pigeon Pose, and Lizard Pose.
– Take Your Time: Don’t rush into putting your foot behind your head. Work on getting more flexible and listen to your body.
– Use Props if Needed: A strap or yoga block can help support your leg and back when you start.
– Engage Your Core: A strong core will help you stay balanced and protect your back.
– Breathe Deeply: Focused breathing helps relax your muscles and allows you to stretch deeper.
– Be Patient: It can take months or years to master these poses, so practice regularly and mindfully.
Conclusion
Poses that involve placing the foot behind the head are advanced and require time, commitment, and preparation. They improve flexibility, build strength, and enhance focus. While these poses can be tough, they offer great benefits for both body and mind.
Practicing with care and good guidance will help you progress safely and effectively. Whether you’re aiming for Eka Pada Sirsasana or trying other variations, enjoy the process of gaining new strength and mobility in your yoga practice!
How to Put Your Legs Behind Your Shoulders in Yoga
Getting your legs behind your shoulders takes a mix of being flexible, strong, and patient. You often find this position in advanced yoga poses such as One-Leg-Behind-the-Head Pose and Both-Legs-Behind-the-Head Pose. Here’s a simple step-by-step guide to help you do this safely.
how to put your legs behind your head
-how to put your legs over your head-
Getting your legs behind your head is a challenging yoga position that needs flexibility, strong core muscles, and a lot of practice. You often find this pose in more advanced yoga practices like Eka Pada Sirsasana (One Leg Behind the Head) and Dwi Pada Sirsasana (Both Legs Behind the Head). Here’s a straightforward guide to help you reach this pose safely as you progress.
Legs behind head yoga pose name / feet behind head posture
like Eka Pada Sirsasana (One-Leg-Behind-the-Head Pose) and Dwi Pada Sirsasana (Both-Legs-Behind-the-Head Pose).
Yoga poses foot behind head in office
Doing foot-behind-the-head yoga poses in an office is tough because of limited space and the need for flexibility. Instead, you can do some easy hip-opening stretches at your desk to help you get ready for harder poses.
One option is the Seated Figure-Four Stretch: cross one ankle over the opposite knee and lean forward to stretch your hips. The Seated Pigeon Pose can help with flexibility, while Chair Spinal Twists keep your spine moving well. If you have a private area, you can try Eka Pada Sirsasana (One-Leg-Behind-the-Head Pose) on the floor.
Stretching regularly at work can stop stiffness, improve your posture, and slowly increase your flexibility for more advanced yoga poses outside the office.